I’m no expert gardener by any means, but I’m taking steps to learn and start growing my own little backyard garden. I’m starting my gardening journey not only because it’s a sustainable practice and to save money (especially growing things I buy all the time at the market), but also to feel close to my mom who passed 2 years ago. She had a green thumb and spent so much time in her garden growing fruit, veggies and flowers. Over the years, my parent’s backyard looked like a jungle, but it grew food that we enjoyed and shared with friends. I’d love to continue sharing her story and celebrating her passions with others. In fact, it was her love for gardening that gave me the inspiration for this blog name!
My parents had a ton of old scrap wood in their backyard that I used to upcycle into raised garden beds. There was enough wood to make 2 planter beds! Here’s how to make your own DIY garden boxes using scrap wood.
You’ll need:
- Legs: 8 pieces of 4×4 (each 30″ tall)
- Long Sides: 8 pieces of 1″x6″ inch planks (each 36″ long)
- Short sides: 8 pieces of 1″x6″ inch planks (each 24″ long)
- 8 pieces of Pallet wood 36″
- 6 pieces of Pallet wood 24″
- Wood screws
- Nail gun
- Miter saw to cut the wood
- Staple gun
- Landscape fabric
Step 1: Assemble the sides of the planter box
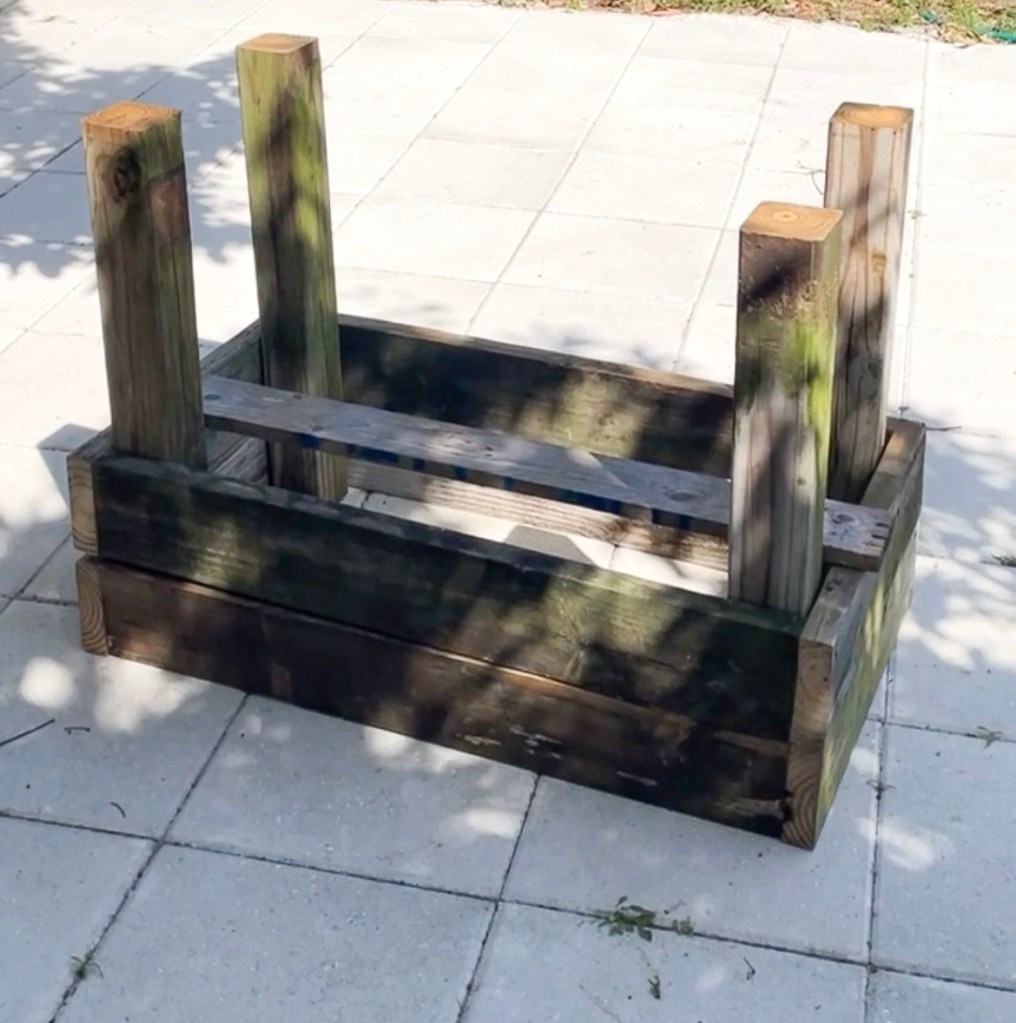
There’s so many ways to build a raised garden, but this one adds some height!
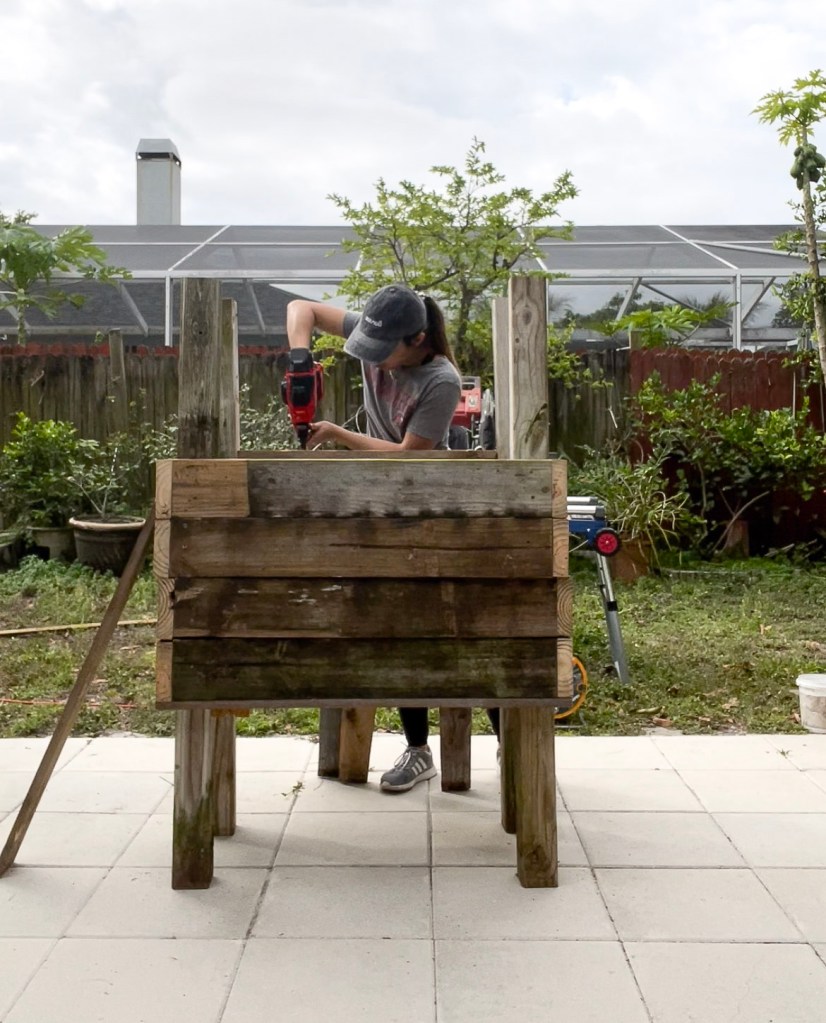
Set up the 4 corner posts (the 4×4 legs) and before you screw anything together, just line up the side pieces around the legs to form a rectangle. I put the legs inside the box. When you’re happy with the placement, screw the sides and legs together. Repeat one more time to add your second layer to add depth to the box.
Repeat this step again to make your 2nd garden box.
Step 2: Build the bottom
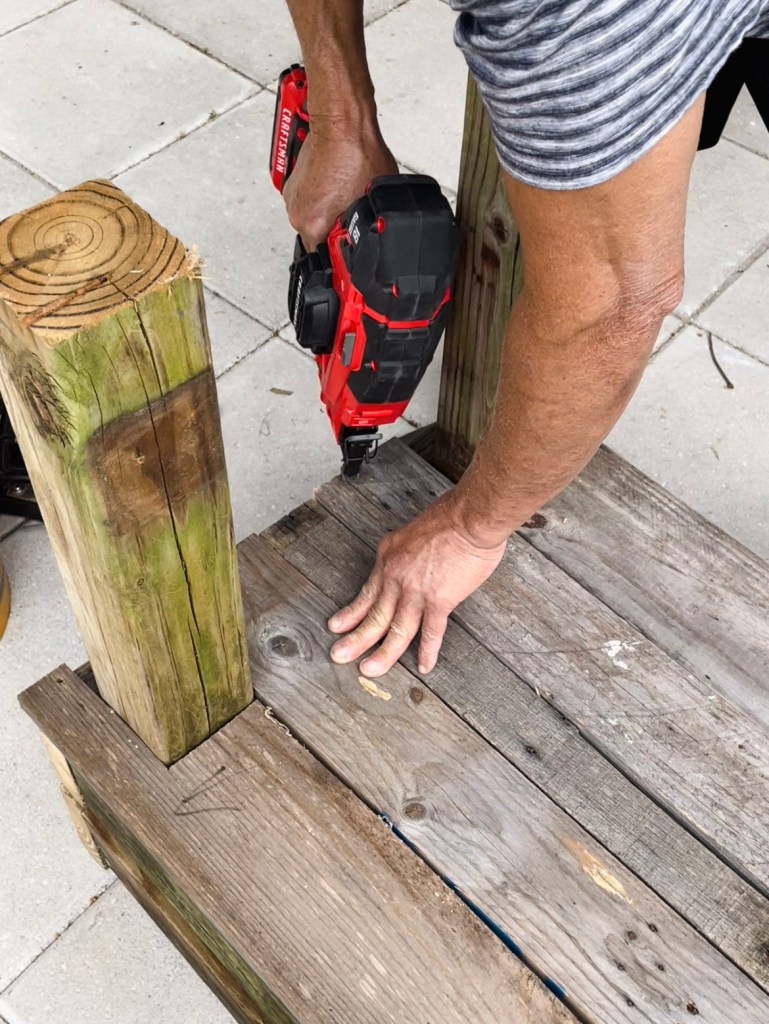
Line up the 34″ pallet wood pieces at the bottom of the planter box and use a nail gun to attach. Once the bottom is attached, line the 24″ ones in the opposite direction (so it runs across all of the pieces) in the middle and sides to support the weight of soil and plants. You can drill holes at the bottom once done to create drainage. We also power washed the boxes afterwards to get the mildew and dirt off.
Step 3: Line the raised garden box


I used landscape fabric and cut to size. It should be enough to line the sides and bottom of the boxes and used a staple gun to attach it.
Step 4: Fill the planter bed
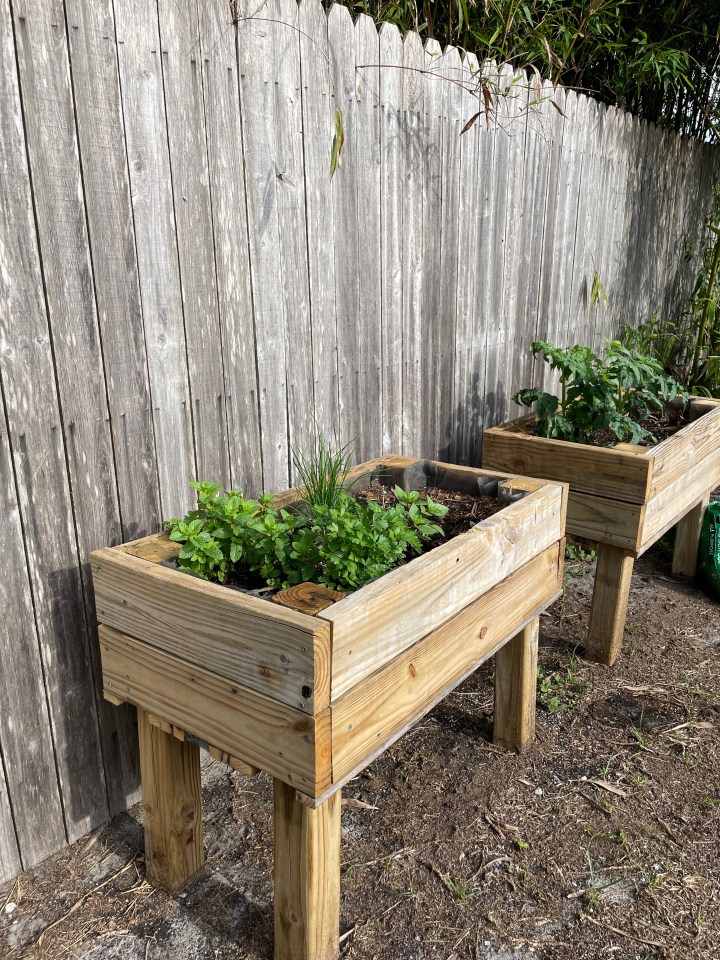
I used Miracle Grow gardening soil, compost and leaves to fill the box. I filled the boxes each with about 1 foot of dried leaves from my yard and mixed it together with the soil and compost to add extra nutrients to the soil. After watering the soil, it is ready for your vegetables and herbs! I planted tomatoes, basil, Thai basil, chives and mint.
I hope this raised planter box tutorial helps and that you can enjoy plenty of harvests from your own backyard too!

If you make raised garden beds from this blog post, please share it and tag me on @junglehouselife on IG! I’d love to see it too! Let’s grow together.
