
What we hoped to be a weekend project, turned out to be a weeklong effort. We took a break from it all and it ended up bring a 3 month break.
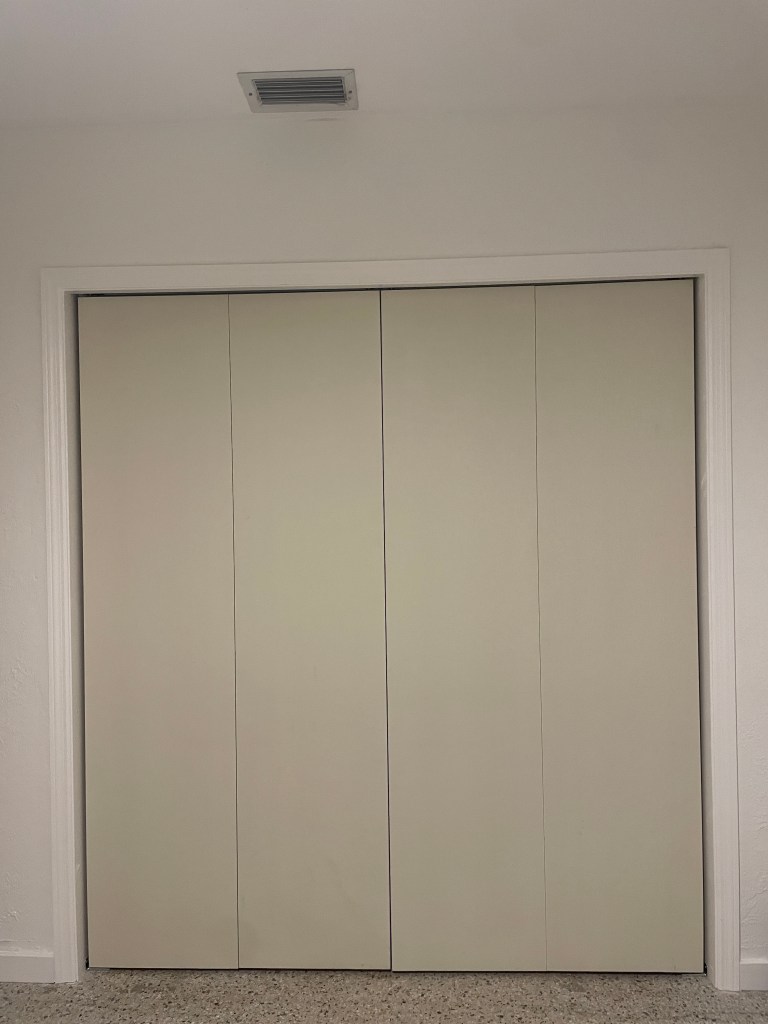
We installed the closet doors, but never installed the knobs or painted it. But after all that time of not doing a project, it was time to get back into it. To give these doors some oomph, I bought flexible moulding to add 2 arches to the fronts of the closet door.

After taking the doors down, we measured 3.75 inches from the left and right sides of the doors and 6 inches from the top of the arch.
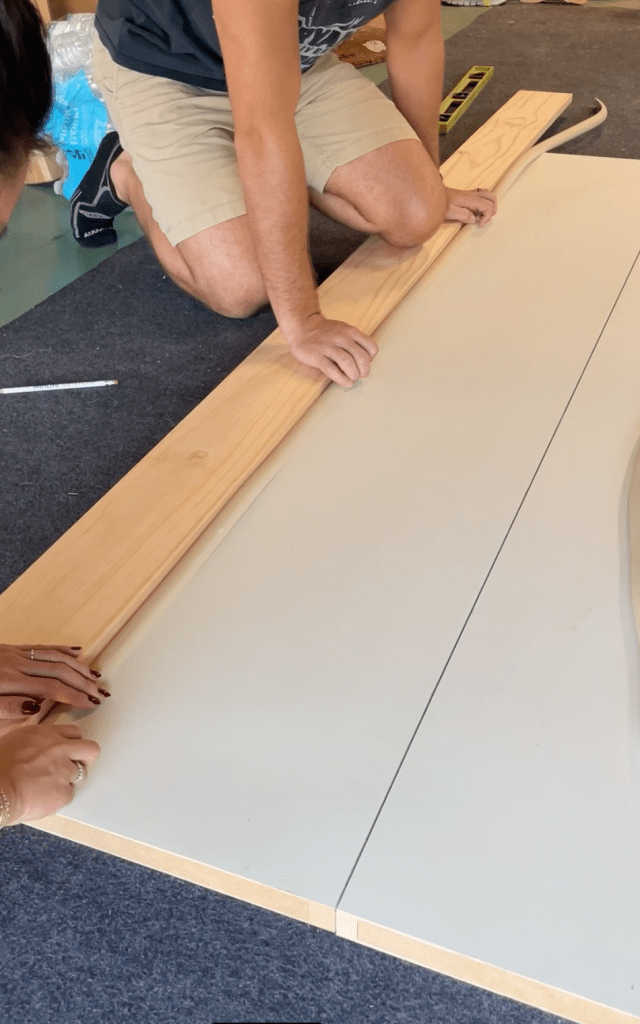
The challenging part of this project was getting the moulding to curve into the arch. It’s very flexible, but I worried with the glue that if we curved the arch, it would move as it dried. So, we decided to do it in 2 steps: glue the straight parts first, then after it dries, move to the curved part.
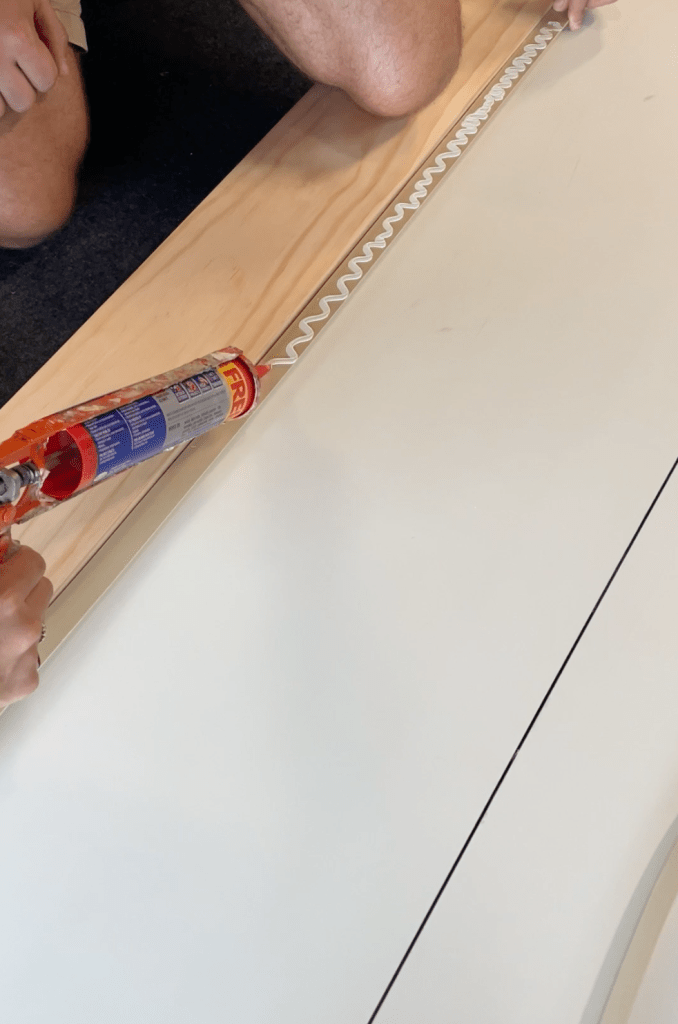
To keep the moulding straight when we glue it down, we used a wooden board as a guide. Using construction adhesive on the moulding, we pressed it down on the closet door against the board.
As the glue dries, we put folded cardboard on either side of the moulding to help balance a board on top of it so we could add weight as it dries. This helps to make sure the moulding doesn’t lift off the doors.
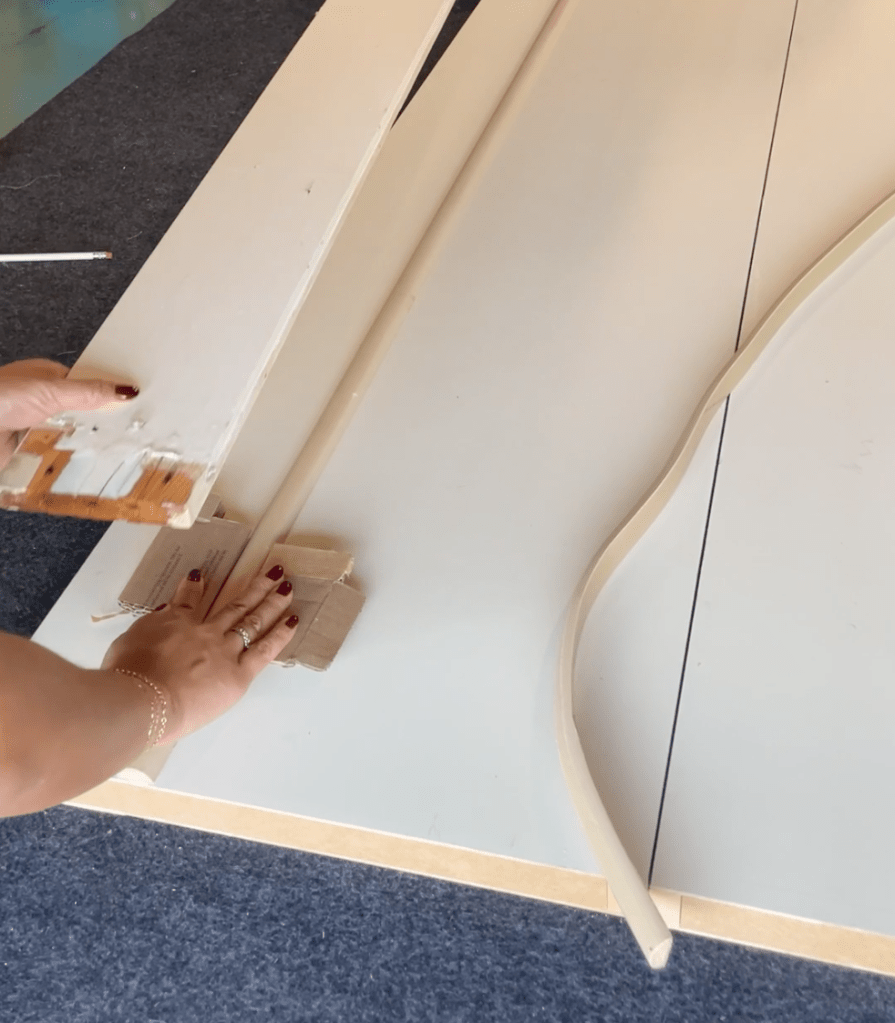

We measured the arch’s height, cut off the excess where it meets in the gap of the bi-fold, and repeated the gluing process with the weights.
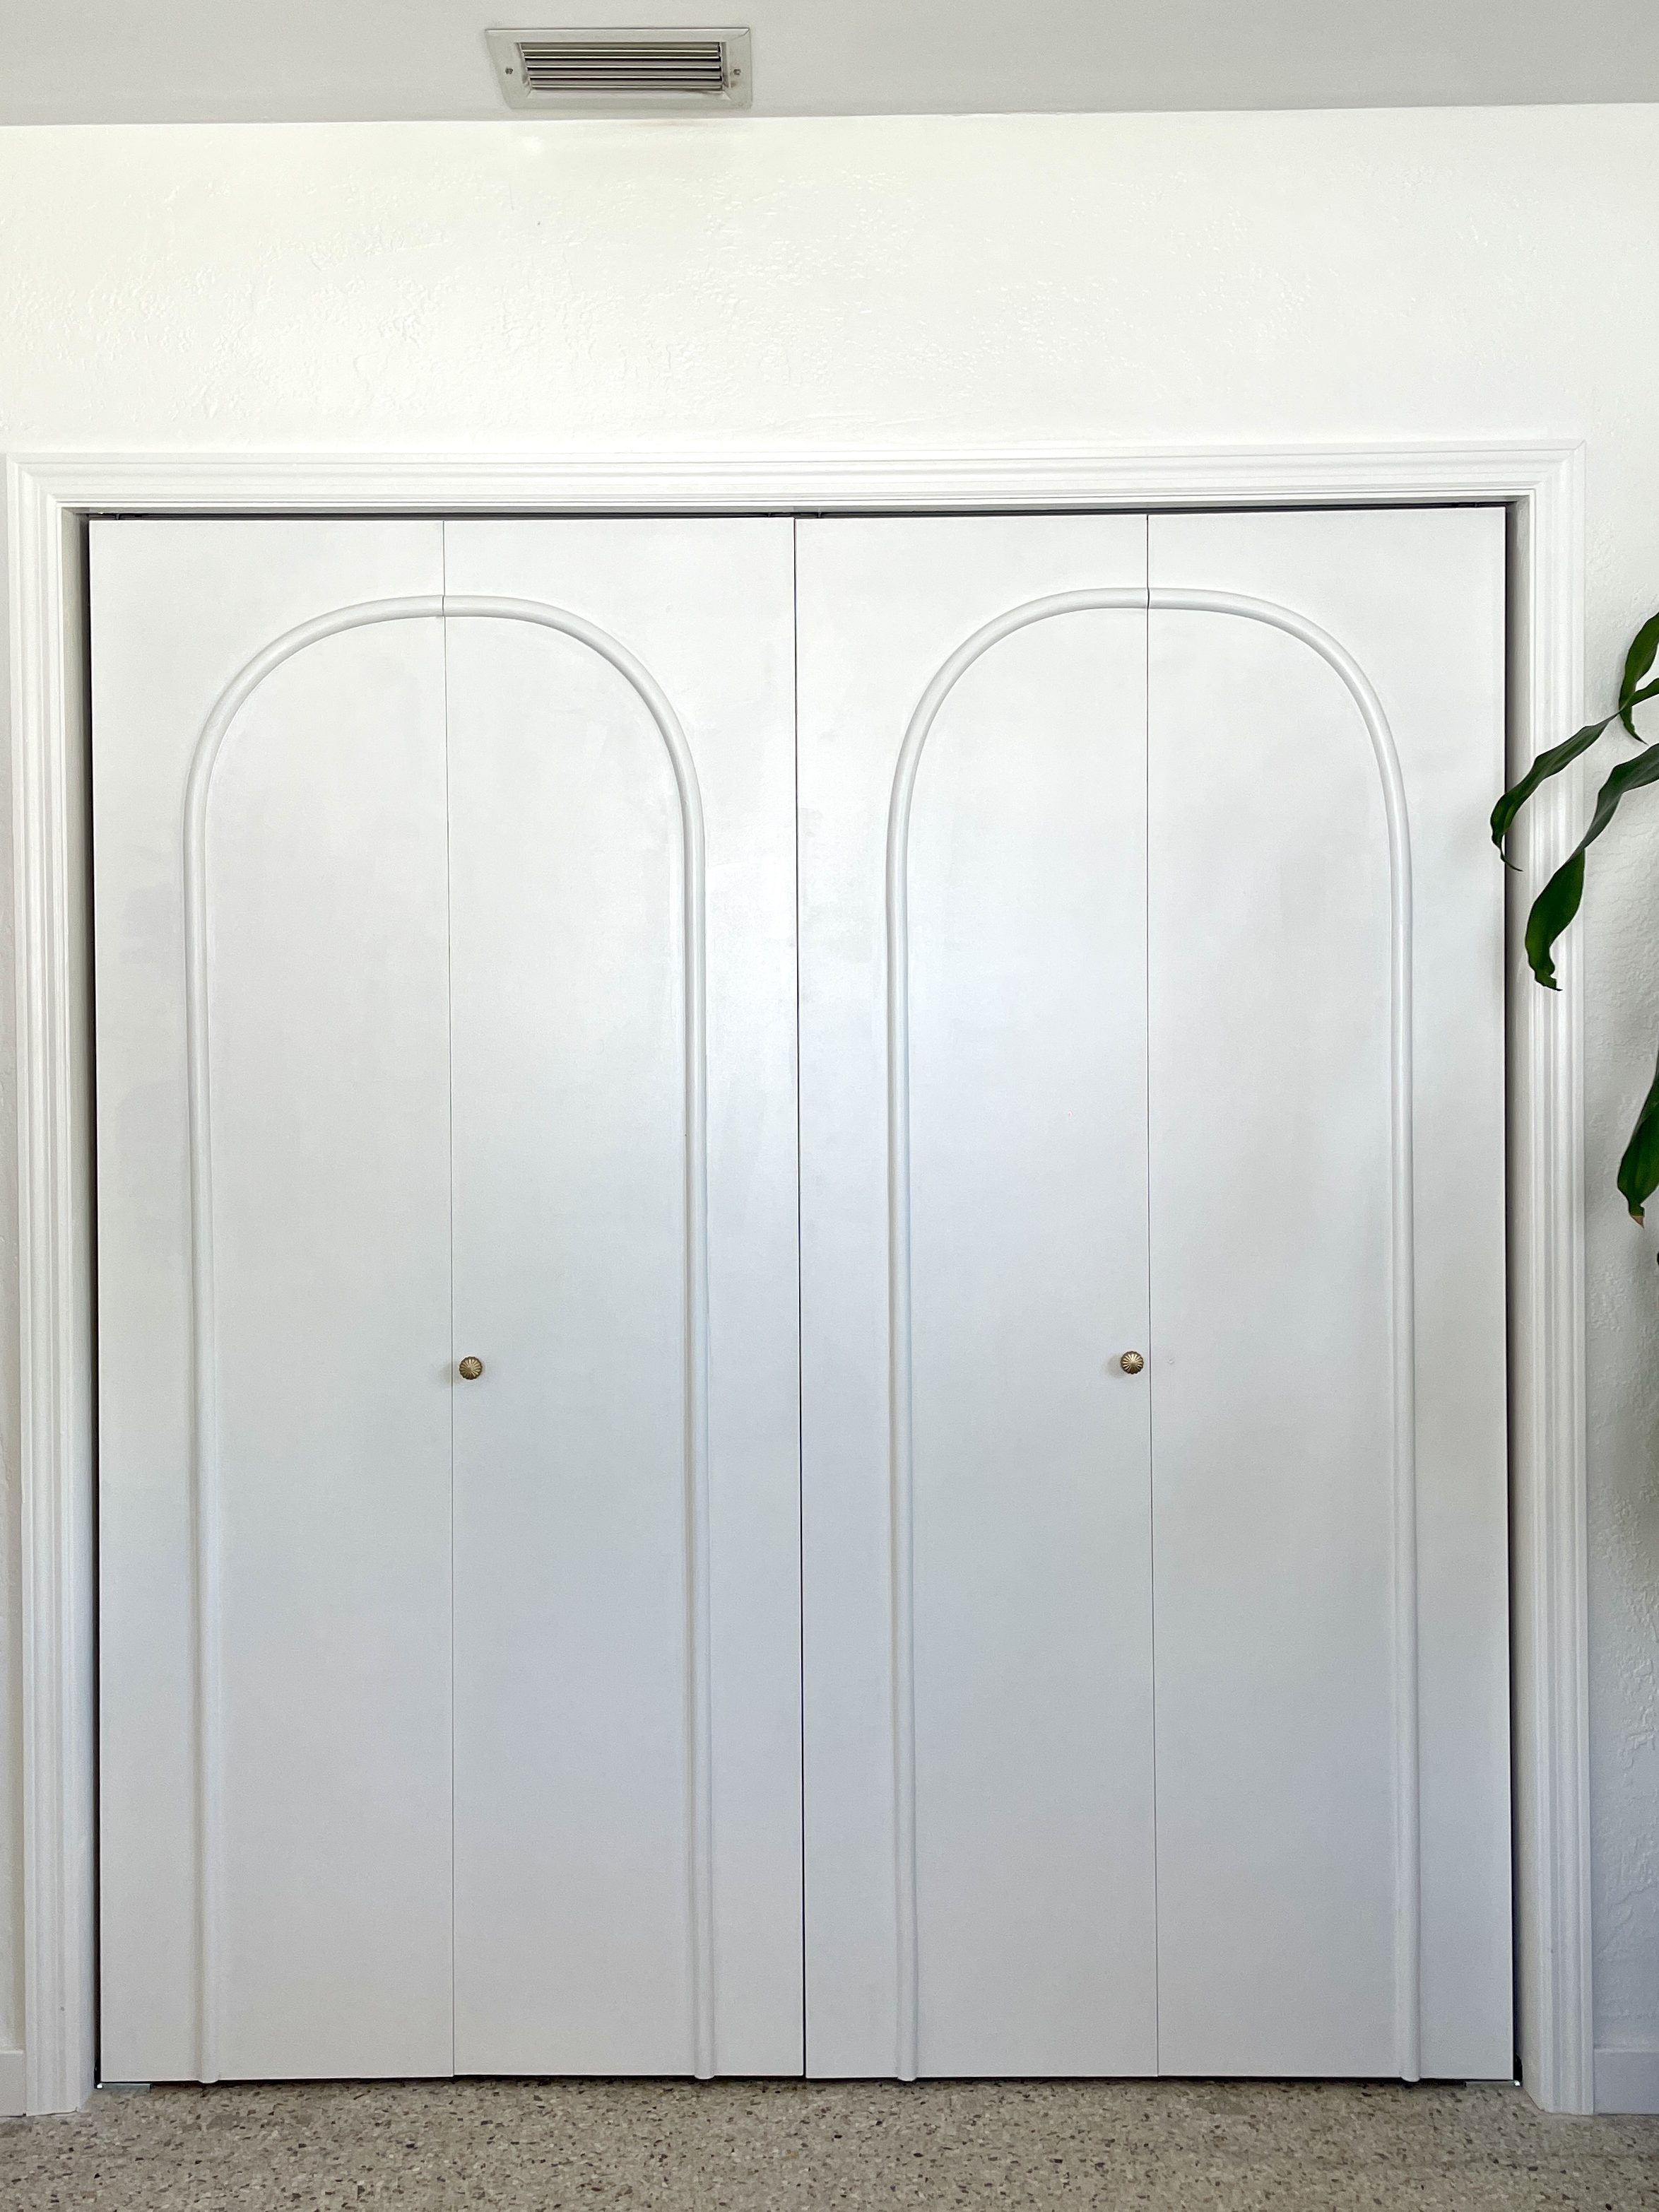
After it all dried, we caulked, painted and added knobs!
Materials used:
- 4 Flexible moulding (half round 8ft)
- Bi-fold closet doors
- Construction Adhesive
- White Gallery Paint by Sherwin Williams
- Gold Knobs
