Day 1
The first day of this project was spent buying all of the supplies at Lowes, including the closet doors, wood for the desk and shelves, paint and primer. I also got the Eket cabinets from Ikea and ordered the rug and brackets from Amazon. I really relied on the 2 day Prime shipping to finish this project on schedule, a lot was riding on this!!
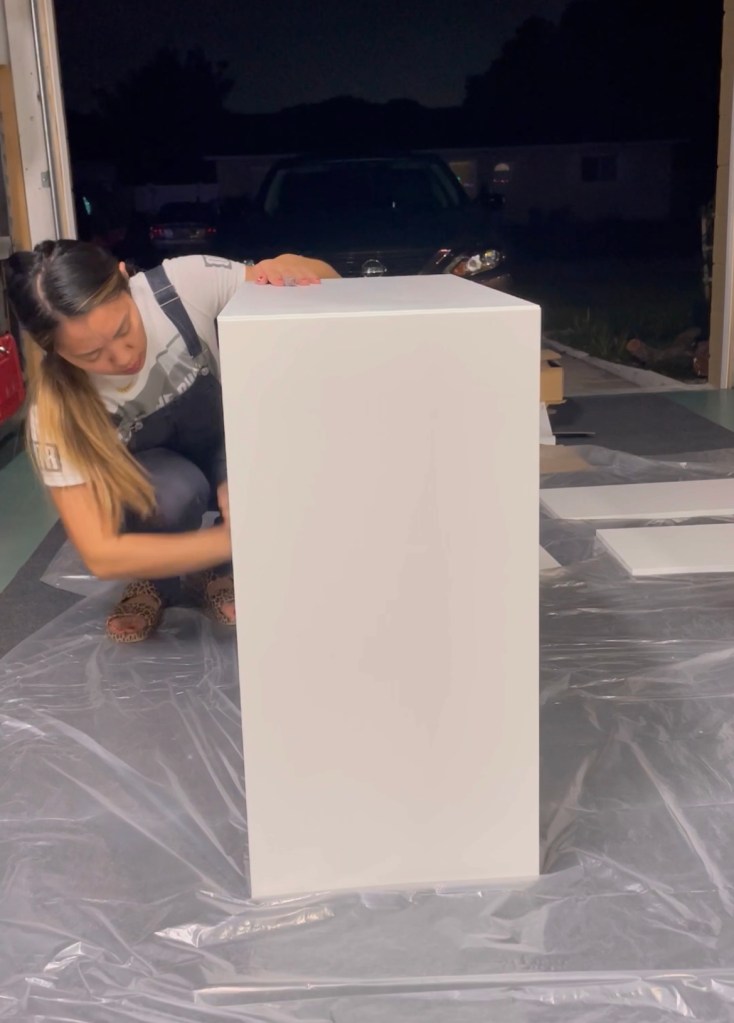
After collecting most of the items I needed, I still had enough time to prep for the “work” part, so I built the cabinets, sanded and primed them for the next day.
Day 2
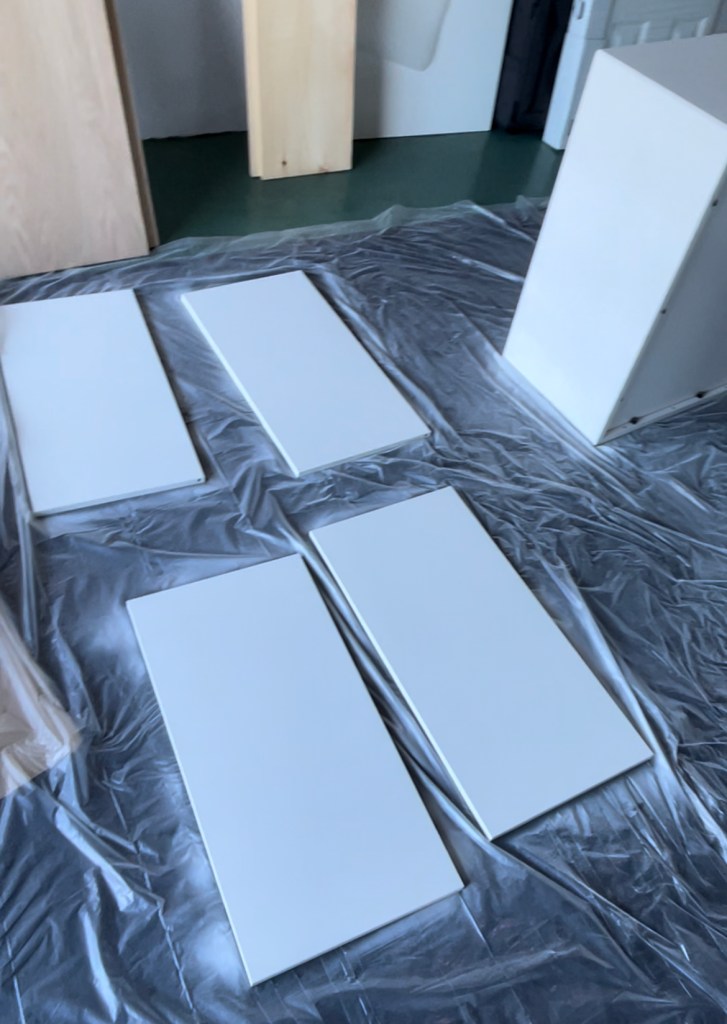
Day 2 would be about painting and staining, this way everything has enough time to dry by the time I install everything. I decided to paint the cabinets my favorite pistachio green, called Sweet Clover from Valspar. It’s the perfect cool green that gives off spa vibes. It’s a peaceful color for guests when they visit but also for working from home. I painted just the fronts and sides of the cabinets since that is the only part that will be exposed, the tops will have the plywood on it, so no need to waste paint!


While that dried, I sanded the 2 6ft boards with 220 grit sand paper, applied wood conditioner and stained them with Golden Oak wood stain by Minwax. The wood conditioner helps to keep the stain even to avoid splotches. For the stain, I like to apply the stain with a paint brush and then use an old rag to wipe off the excess so that not too much color soaks in.
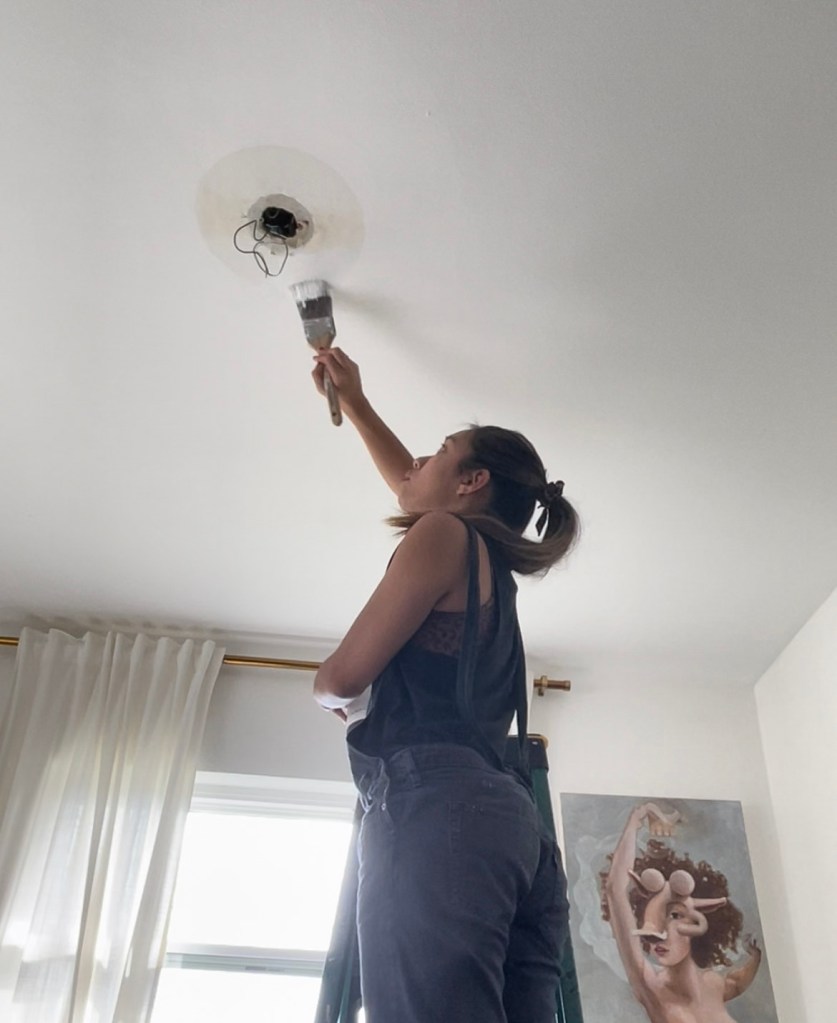
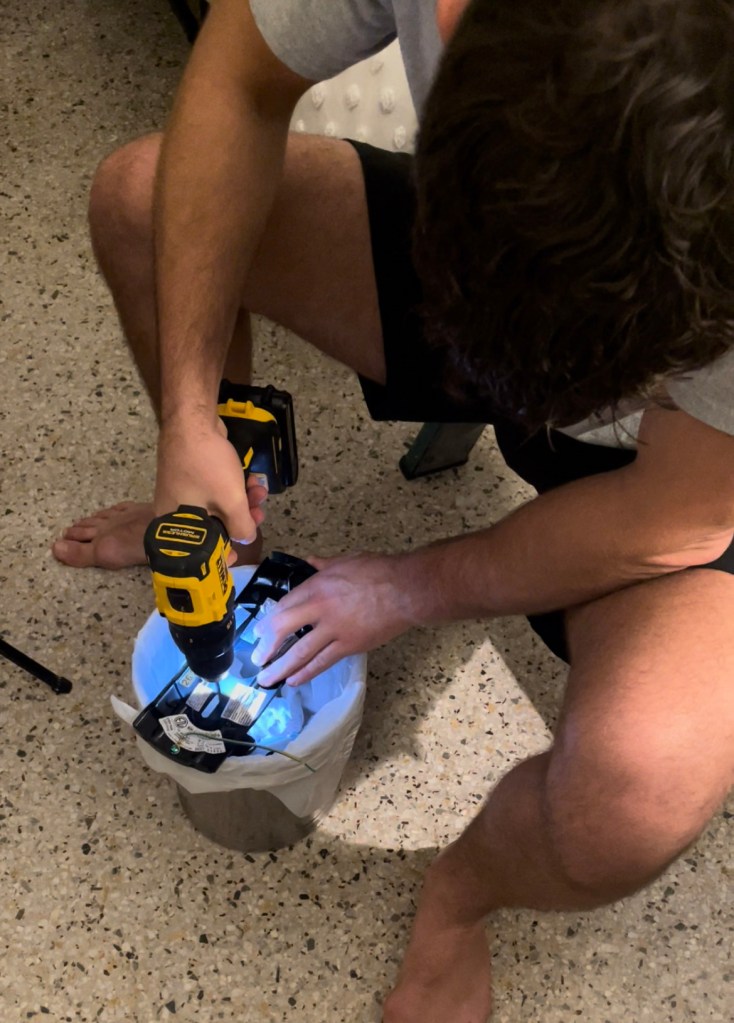
The last part of the day was to install the fan. It wasn’t supposed to take too long, but we ran into issues when we removed the fan and saw that the previous owners painted the ceiling around the old fan. Unfortunately for us, the new fan wasn’t big enough to cover the lazy paint job, so I had to paint the ceiling too. Then to add even more time to this project, the existing mounts in the ceiling to attach the fan wasn’t wide enough for the new bracket. So we had to drill new holes for it to fit.
Day 3
The final day to get everything done and installed!! I needed to install the closet doors, the shelves and put together the desk. Should’ve been a simple day. Going into the day, my biggest concern was that the brackets for my shelves were scheduled to arrive late in the day, which would’ve delayed my timeline. Luckily it arrived by lunchtime. What ended up delaying me instead was installing the closet doors. I was really hoping the new doors would fit the existing track so I didn’t need to install anything, but as luck would have it, the tracks faced opposite directions. I should’ve done more research on the closet doors I was buying, but I’m more of a “figure it out without looking at the instructions” kind of gal.
Building the desk
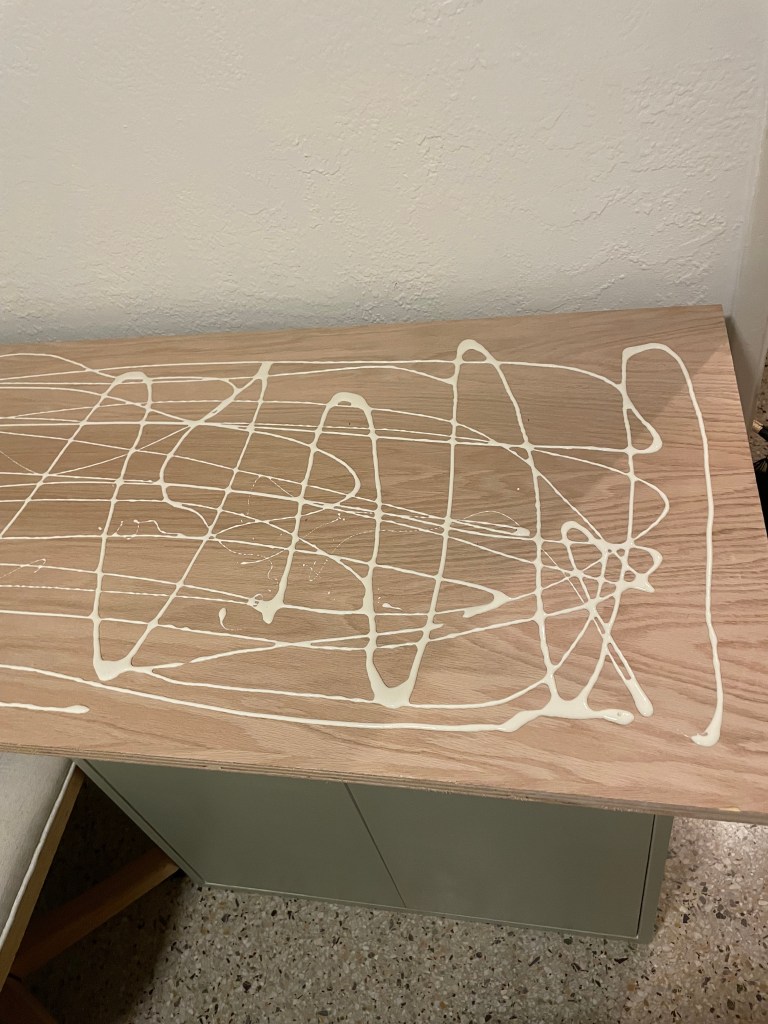
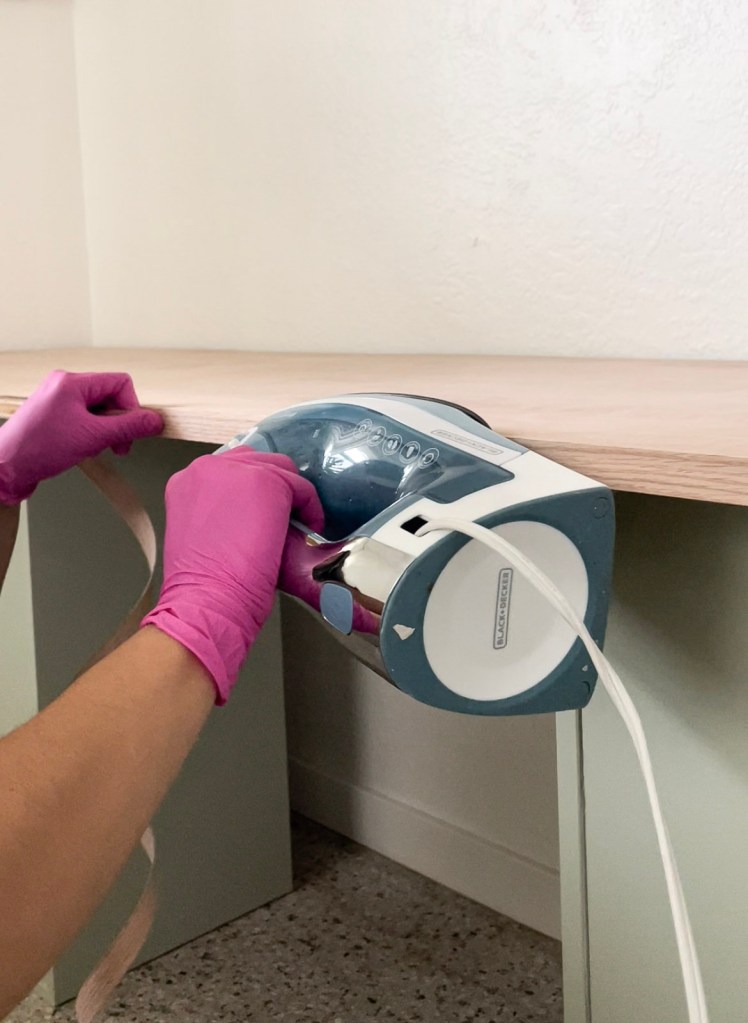
The desk was really easy to put together! It’s made of just 2 Eket cabinets, 2 24×90″ red oak plywood (a 3/8″ and a 1/8″ thickness) and 1/2″ wood edge band. The plywood comes in 4×8′ pieces, and at Lowes or Home Depot, you can have them cut it for you to fit your space. I used a nail gun to nail the 3/8″ plywood to the cabinets and then used wood glue to glue both pieces of plywood together overnight, with clamps and heavy boxes on top. Then the next day I sanded down the edges, ironed on the wood edge and sealed the desktop with polyurethane.
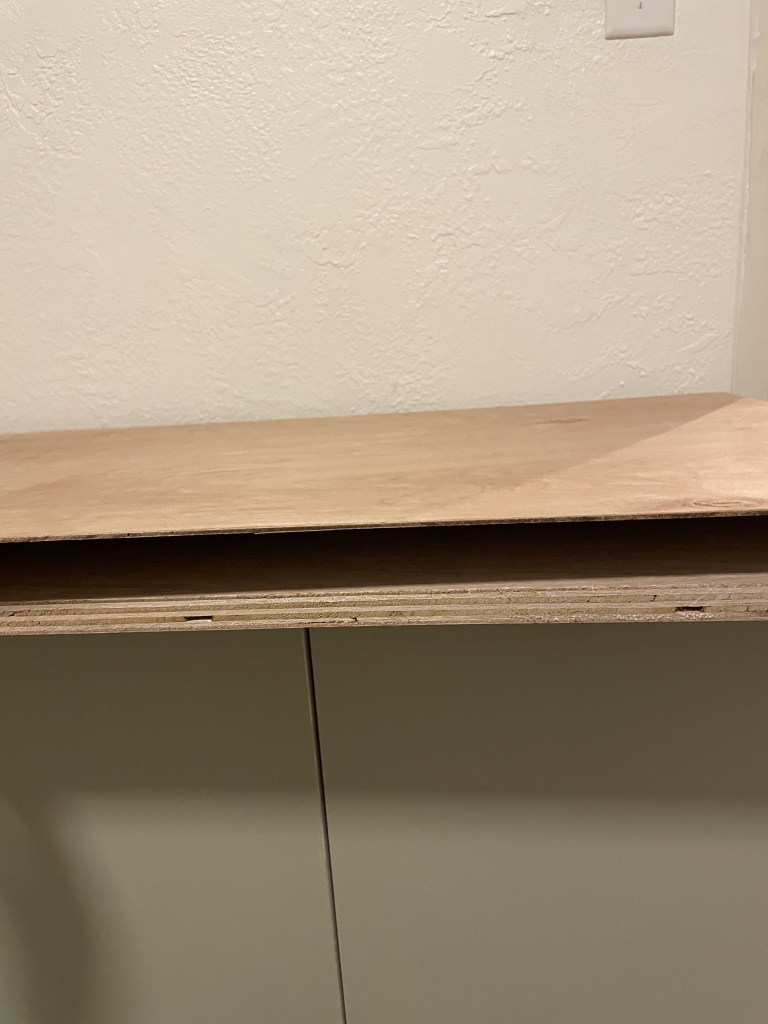
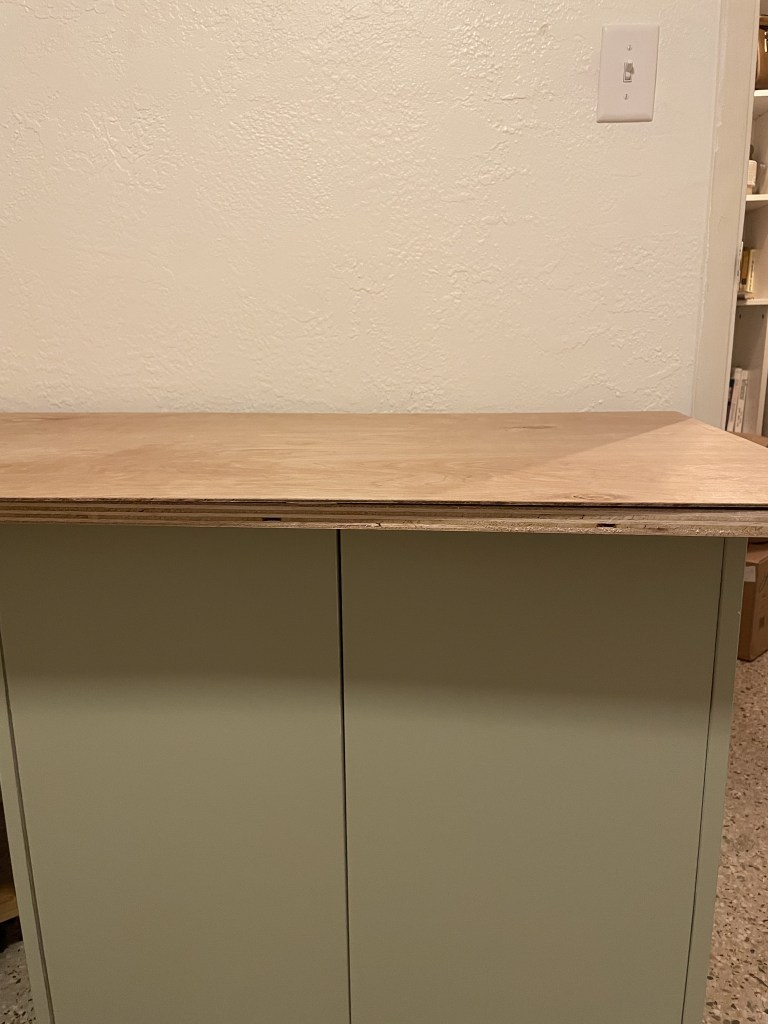
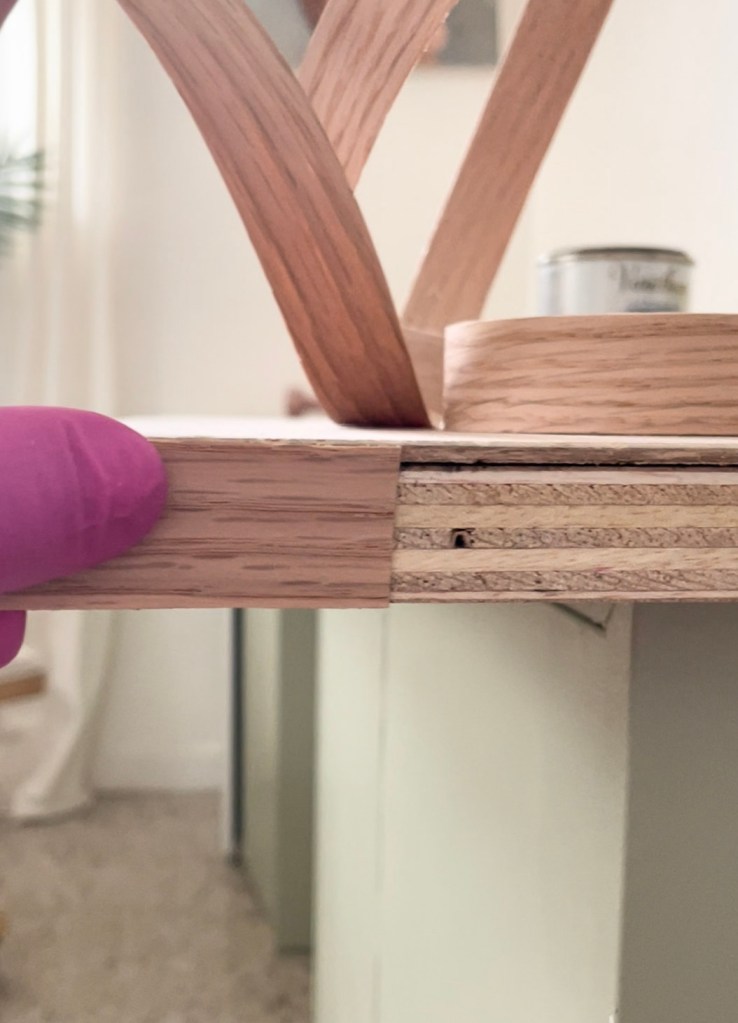
I left 2.5″ of plywood to hang over both sides of the cabinet and scooted the cabinets out about 7″ from the wall. I also left about 1/2″ of space between the wall and the plywood so that I can snake cords down to the outlet.
And that’s all she wrote! I just need a few things to style the room. Stay tuned for the reveal tomorrow!
See Part 1 here

One thought on “Guest Bedroom and Office Makeover – Part 2, The During”